
A favicon is a small yet significant visual cue that reinforces brand identity across browser tabs, bookmarks, and mobile interfaces. As a business owner with a web presence, establishing consistency in visual branding should extend beyond logos and social media banners.
Having a favicon can ensure that your website is easily recognizable, even when surrounded by dozens of other open tabs or saved bookmarks.
Many website owners overlook the favicon during development, treating it as optional. In reality, it is a professional standard. Adding a favicon to your HTML website not only polishes the appearance but can improve user trust and brand recall.
Additionally, search engines like Google display favicons in mobile search results, which can subtly influence click-through rates.
This guide will walk through implementing a favicon from a technical perspective, ensuring that your branding remains consistent and visible at every digital touchpoint.
Table of Contents
What Is a Favicon?
A favicon, or “favorite icon,” is a small graphical element associated with a website or web page. It typically appears in browser tabs, bookmarks, history listings, and mobile search results.
Although small in size (usually 16×16 or 32×32 pixels), it plays a disproportionately large role in visual branding.
Browsers retrieve the favicon file when loading a website to represent the site visually in user interfaces. This is especially important when multiple tabs are open; the favicon serves as an instant brand identifier.
Beyond browsers, favicons also appear in places such as pinned tabs, shortcut tiles on mobile devices, and browser address bars.

Favicons can be generated in several file formats, including .ico, .png, .svg, and sometimes .gif. The .ico format remains the most widely supported across legacy browsers, while .png offers better quality and transparency support for modern browsers.
The .svg format is scalable and lightweight, ideal for responsive designs, though not all platforms support it consistently.
From a technical standpoint, browsers will look for a favicon file either through an explicit <link> tag in the HTML head or by default at the root directory as favicon.ico.
That’s why understanding both the format and delivery method is key to consistent favicon behavior across devices.
Preparing Your Favicon File
Before integrating a favicon into your HTML website, it’s essential to ensure the image file meets size and format requirements that align with modern device and browser standards.
Ideal favicon sizes include:
- 16×16 px (standard browser tab icon)
- 32×32 px (desktop browser high-resolution displays)
- 48×48 px (Windows desktop shortcut icons)
- 180×180 px (Apple Touch icons for iOS home screens)
- 512×512 px (Android and Progressive Web Apps)
You may use a single high-resolution icon and allow browsers to scale it down, but specifying multiple sizes guarantees better compatibility and rendering fidelity.
Format selection also matters. While .ico is universally supported, it’s often limited in quality. .png is ideal for modern browsers due to its clarity and transparency. For scalability and future-proofing, consider using .svg, although not all platforms and email clients support it.
To create or convert a favicon file, consider the following tools:
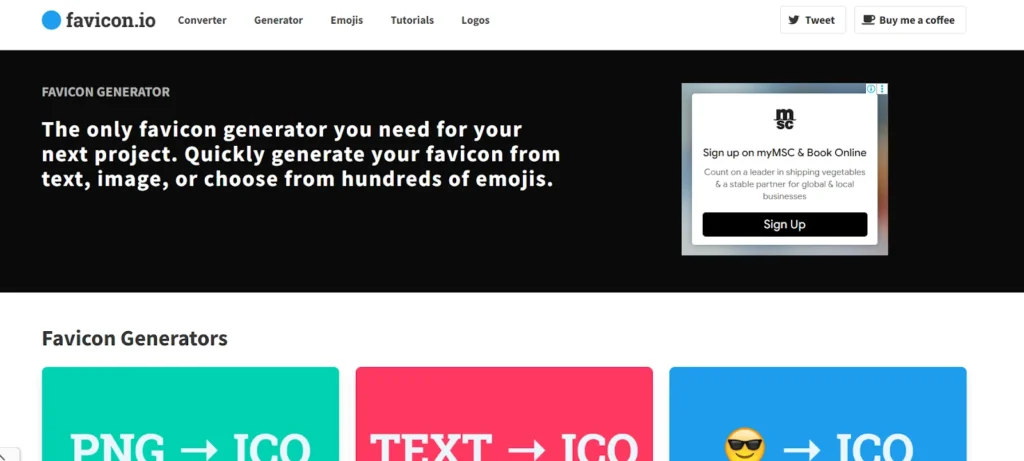
- Favicon.io (generator from text, image, or emoji)
- RealFaviconGenerator.net
- X-Icon Editor
- GIMP or Adobe Photoshop (manual creation)
- Figma or Illustrator (vector to .png or .ico exports)
Naming conventions should follow simplicity and default browser behavior. Place your final favicon in the root directory as favicon.ico to serve as a fallback for older browsers. If you’re using multiple formats or sizes, include them via <link> tags in the HTML head.

Avoid complex names or subfolder paths unless properly referenced, as many browsers will not resolve them without explicit instructions.
How to Add a Favicon Using HTML
Once the favicon file is prepared, the next step is to integrate it into your website’s HTML. The favicon must be linked within your HTML document’s <head> section to ensure that browsers recognize and load it correctly.
Although many browsers will search for a favicon.ico file in the root directory by default, explicitly declaring it via HTML provides greater control and compatibility.
The most basic method involves a single line using the rel=”icon” attribute. This approach works for .ico, .png, and .svg files. However, if you are serving different sizes or formats for specific devices, multiple <link> tags are required to instruct browsers on how to handle them.
When dealing with high-resolution displays, defining favicons using rel=”icon” with corresponding sizes attributes can ensure better rendering. For example, specifying a 32×32 PNG alongside a 180×180 Apple Touch icon avoids pixelation or improper scaling.
For comprehensive coverage, it’s recommended to include links for Apple, Android, and generic browsers:
| html <!– Standard Favicon –><link rel=”icon” href=”/favicon.ico” type=”image/x-icon”> <!– PNG Format for Modern Browsers –><link rel=”icon” type=”image/png” sizes=”32×32″ href=”/favicon-32×32.png”><link rel=”icon” type=”image/png” sizes=”16×16″ href=”/favicon-16×16.png”> <!– Apple Touch Icon –><link rel=”apple-touch-icon” sizes=”180×180″ href=”/apple-touch-icon.png”> |
Best practices include:
- Hosting all favicon assets in the root directory or a centralized /assets/ folder.
- Using relative paths to prevent dependency on domain changes.
- Including multiple formats for broader compatibility.
- Always clearing the browser cache when testing changes.
- Validating favicon links using browser dev tools or online validators to ensure error-free delivery.
Alternative Methods & Advanced Tips
While linking favicon files directly through HTML is standard practice, alternative approaches are often required for modern web applications, especially those employing app-like features or responsive behavior.
One advanced method is to use a manifest.json file. This file is primarily used in Progressive Web Apps (PWAs) and defines how your website appears when installed on a mobile device.
Inside the manifest, you can declare various favicon sizes, theme colors, and icons for splash screens.
| json { “name”: “Your Site Name”, “icons”: [ { “src”: “/android-chrome-192×192.png”, “sizes”: “192×192”, “type”: “image/png” }, { “src”: “/android-chrome-512×512.png”, “sizes”: “512×512”, “type”: “image/png” } ]} |
SVG favicons offer another layer of flexibility. As scalable vector graphics, they ensure crisp rendering across any resolution or zoom level. They are particularly beneficial for dark mode support, allowing for dynamic color adjustments using media queries.
However, be cautious, as some older browsers and mobile environments may not fully support SVG as a favicon.
Additionally, using favicons hosted on a CDN can reduce server load and improve cache efficiency, especially for multi-domain enterprises. However, reliance on external assets should be weighed against control, security, and fallback concerns.
Dynamically changing favicons via JavaScript is possible when supporting multilingual or multi-brand sites. However, it requires careful implementation to avoid caching issues or inconsistent rendering across sessions.
Common Mistakes to Avoid
Even with a technically correct favicon, there are several common implementation errors that can lead to inconsistent or broken rendering.
- Placing the favicon file in a subdirectory without updating the path in the HTML link.
- Using only one format (e.g., .ico) without providing modern alternatives like .png or .svg.
- Incorrect or missing type attributes in <link> tags, leading to MIME-type mismatches.
- Failing to define sizes for different favicon files, which affects scaling and appearance.
- Hosting favicon assets on an external domain without accounting for CORS policies or CDN caching behavior.
- Overwriting an existing favicon in the browser cache but not forcing a refresh, causing outdated icons to persist.
- Ignoring platform-specific needs, such as omitting Apple touch icons or Android splash screen icons.
- Including favicon files with large file sizes, which negatively impact performance on slower networks.
How to Test If Your Favicon Works
Once the favicon is implemented, validating its behavior across platforms is critical. Start with manual inspection by opening the site in multiple browsers and checking whether the icon appears in the tab, bookmark, and address bar. Also, test on incognito or private modes to bypass caching.
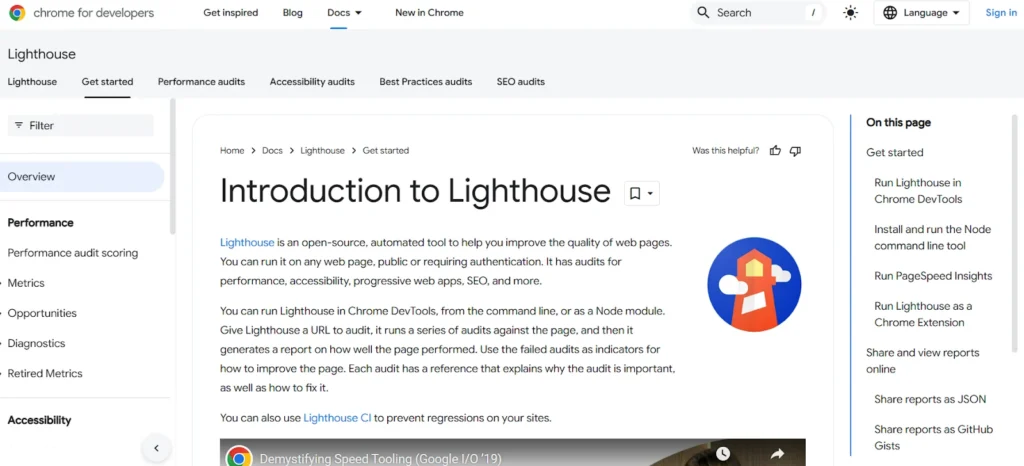
Use online favicon testing tools like RealFaviconGenerator’s checker or Google’s Lighthouse audit, both of which can flag missing formats or improper sizing. These tools also simulate how the favicon appears across devices.
Inspect the HTML source to ensure all <link> elements point to the correct file paths and contain accurate MIME types. Confirm that the favicon loads via network monitoring tools in browser developer consoles.
On mobile devices, test how the favicon renders when the site is saved to the home screen. For PWAs, ensure the manifest.json correctly references all icons and that splash screens behave as expected during loading transitions.
Conclusion
Favicons are vital components of brand visibility and user trust. By preparing files correctly, using appropriate HTML declarations, and validating implementation across multiple environments, consistent branding at every touchpoint can be achieved.
For businesses, especially those with customer-facing platforms, overlooking a favicon signals incomplete attention to detail.
Proper implementation ensures a polished digital presence while also supporting cross-platform recognition. As web ecosystems become increasingly visual, integrating a robust favicon strategy is foundational to modern brand identity online.
