If you’re running a serious e-commerce store on Magento 2 and you aren’t leveraging Google Shopping, you’re essentially leaving buckets of money on the table. It’s that simple.
Why? Because when someone is searching Google for a “men’s waterproof running shoe” or “stainless steel French press,” they’re not in research mode anymore. They are ready to buy. And Google Shopping, with its rich images, prices, and store names, is designed to catch those high-intent buyers exactly when they’re pulling out their wallets.
This guide isn’t about the why as much as the how. We’re going to cover the absolute, non-negotiable process for getting your Magento 2 product data out of your store and perfectly formatted into a Google Merchant Center compliant feed.
My previous experience managing feeds for high-inventory Magento stores showed me that the biggest difference between success and failure isn’t your ad budget, it’s the quality and automation of your data feed. Let’s make sure yours is the best it can be.
The Imperative: Why a Google Shopping Feed is Non-Negotiable for Magento 2 Stores

Here’s the difference between visibility and sales in e-commerce.
Think about the old days, or even what a rushed amateur might do today. They might try manually updating a spreadsheet of products, prices, and stock levels every week to upload to Google. Honestly, that approach is a slow, agonizing death for any modern e-commerce operation. If your product price changes, or you sell out of a popular SKU, your manually updated feed instantly becomes inaccurate. That leads to disapproved listings, frustrated customers, and wasted ad spend. You can’t scale that way. You just can’t.
A Google Shopping Feed is the key to automating this whole process.
What is a Google Shopping Feed? The 5-Second Definition
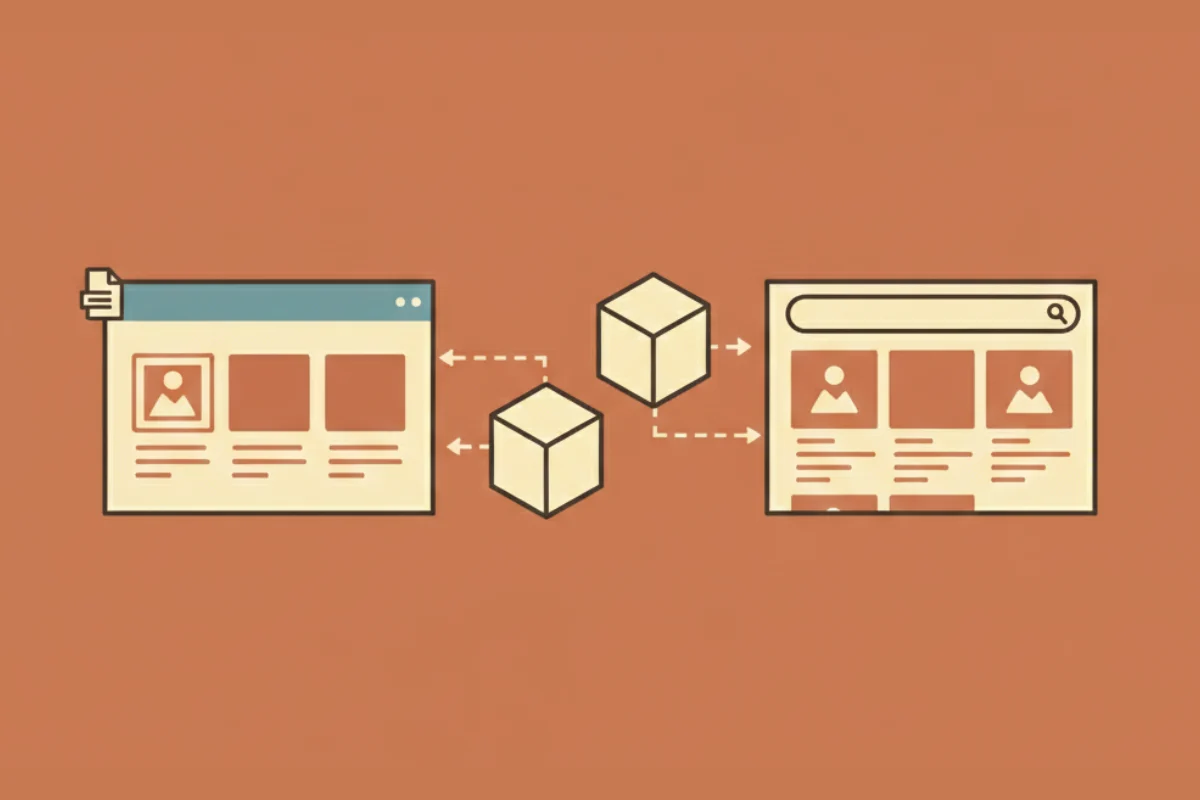
A Google Shopping Feed, technically called a product data feed, is just a file, usually in XML or CSV format, that contains a comprehensive list of all your products and their attributes.
It acts as the single, clean data pipe between your Magento 2 store’s messy database and the Google Merchant Center (GMC). Google reads this file, not your store directly, to display your Product Listing Ads (PLAs) and Free Product Listings across Google Search, Shopping tab, Images, and more.
Core Benefits of Google Shopping for Magento Merchants
If you’re still unconvinced this is worth the effort, let me drop a few quick facts about what a solid feed does for you:
- Higher Visibility and Traffic Quality: When a customer sees your product image and price before they even click, you know they have commercial intent. The traffic you get from PLAs is typically much more qualified than standard text ad traffic, often leading to a significantly higher conversion rate overall.
- Access to Free Product Listings: This is the surprise value. Google now allows Free Product Listings across the Shopping tab and Search. Submitting a high-quality product feed to GMC is the foundational requirement to be eligible for these organic, zero-cost listings. You’re missing out on free traffic without it.
- Increased Conversion Rates: Since the PLA links directly to the product page and displays rich data (price, rating, image) right in the search result, the customer experience is frictionless. They know what they’re getting before they land on your site, which drives conversions up.
Now for the part most people skip: understanding the ecosystem you’re about to integrate with.
Understanding the Google Merchant Center (GMC) Ecosystem
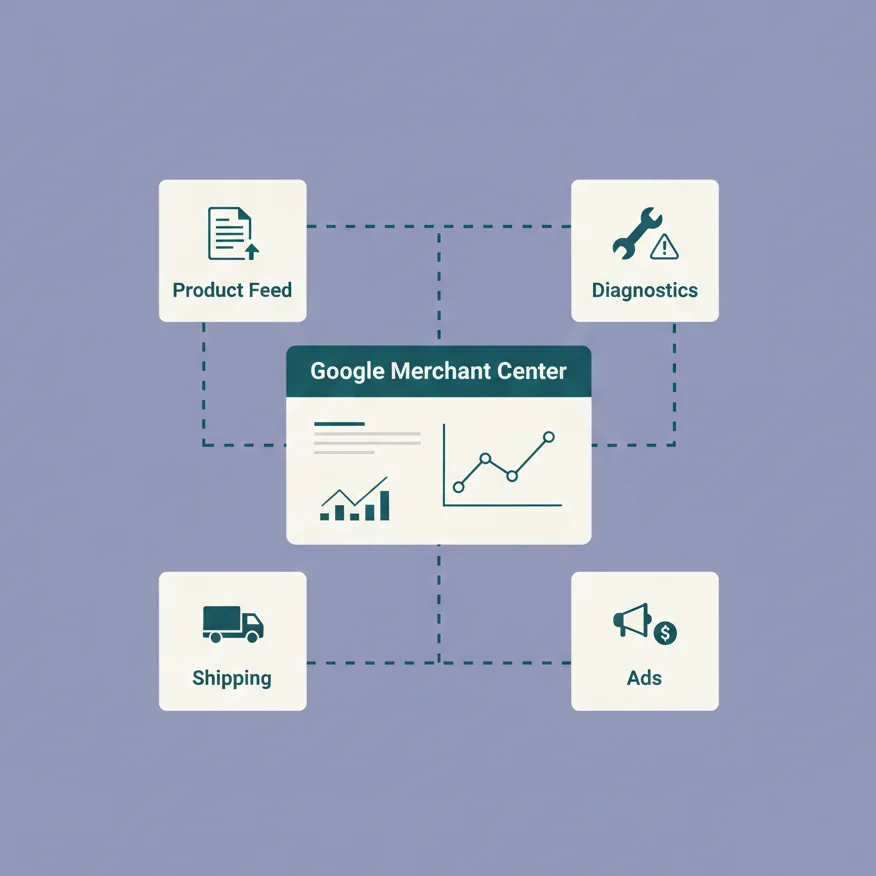
Google Shopping isn’t just a simple extension, it’s an ecosystem. To run a successful campaign, you need three interconnected pieces working perfectly together.
The Three Pillars of a Successful Google Shopping Campaign
- Google Merchant Center (The Data Hub): This is where your feed lives. It’s the dashboard where you upload the feed, manage product diagnostics, check for policy violations, and manage your overall product inventory data.
- Google Shopping Feed (The Data Pipe): This is the XML/CSV file we’re discussing. It’s the constant stream of fresh, accurate product information flowing from Magento 2 to the GMC. If this pipe is clogged or has bad data, the entire campaign fails.
- Google Ads (The Campaign Driver): This is where you actually create, structure, bid on, and manage your Shopping campaigns, using the product data you’ve pushed into the GMC.
Key GMC Requirements (The Approval Barrier)
Honestly, this part trips people up all the time. Your beautifully crafted feed means nothing if your store doesn’t meet Google’s baseline policies. If you get suspended, it’s a pain to recover. Make sure you check these boxes first:
- Website Verification and Claiming: You need to verify that you own your Magento 2 domain in GMC.
- Return and Refund Policy Clarity: Must be clearly visible and complete on your website. No hiding it in the footer in tiny print.
- Secure Checkout (Valid SSL): Essential. You absolutely must process payments over a valid SSL connection. For a Magento store, this is a given, but verify it works end-to-end.
- The Importance of Product Data Accuracy: The price and availability in your feed must match the price and availability on your Magento product page. Discrepancies here are the number one reason for feed rejection and account suspension. This is why automation is so vital.
The Magento 2 Challenge: Why You Need an Extension

If you’re new to Magento, you might wonder why you can’t just hit an “Export to Google Shopping” button in the admin panel.
The Missing Native Feature
Here’s the blunt truth: Magento 2 Open Source does not have a built-in Google Shopping feed generator.
The platform is powerful, but it’s fundamentally a framework. Generating a perfectly structured, attribute-mapped XML file that automatically updates on a schedule requires functionality that simply isn’t there out-of-the-box. This is the first reality check for any Magento merchant venturing into Google Shopping.
Extension vs. Manual CSV
You could try the manual route. You could export all your products to a CSV, re-format the column headers to match Google’s requirements, and upload that file to GMC. Maybe you could even set up a cron job to export a new CSV file every day.
But imagine you have 5,000 products. What happens when:
- You update the title of 30 products for better SEO?
- You run a weekend flash sale changing 500 prices?
- You get an inventory update showing 1,000 items are suddenly out of stock?
You’d be scrambling every single day.
An extension is the only viable, scalable solution. It uses Cron Jobs for reliable, automated updates and handles complex Attribute Mapping between your custom Magento attributes (like color_option_text) and Google’s required attributes (like color). This automation is a non-negotiable necessity.
Choosing the Right Magento 2 Google Shopping Feed Extension
This is a critical business decision, so don’t rush it. A cheap or poorly maintained extension will cost you more in troubleshooting and lost sales than a high-quality one. You need to look for specific, advanced features.
Critical Factors for Selection
When you’re evaluating options, prioritize these capabilities. If the extension doesn’t do this stuff, move on.
- Feature 1: Automated Update Scheduling (Cron Jobs): This is the heart of the solution. The extension must allow you to set a precise frequency, hourly or at least daily, for generating the feed and uploading it directly to GMC via SFTP or the Content API. Set it and forget it, mostly.
- Feature 2: Advanced Attribute Mapping: Your Magento attributes rarely map 1:1 with Google’s. A good extension provides a flexible interface to map your custom attributes (like product sizing) to the standard Google attributes, and lets you apply logic or concatenation (e.g., combining brand and name to create a great title).
- Feature 3: Google Product Taxonomy Mapping: This is about compliance. The extension should either provide an auto-complete feature for the Google Product Category list or allow rule-based categorization to simplify matching your store categories to Google’s specific hierarchy.
- Feature 4: Product Filtering Rules: You often don’t want all your products in the feed. A robust extension lets you exclude products based on status (e.g., Out-of-Stock, Disabled), Category (e.g., exclude “clearance items”), or specific attributes (e.g., “only products over $50”). This is vital for profit-based bidding.
- Feature 5: Support for All Product Types: This is crucial. It must handle Simple, Virtual, and Downloadable products, but most importantly, it needs proper support for Configurable, Grouped, and Bundled products, ensuring the item_group_id is handled correctly for variants.
Top 3 Recommended Extensions
I don’t have the exact 2024 numbers on sales, but based on industry reputation and feature sets, here are the leaders you’ll see constantly recommended in the Magento ecosystem:
| Extension Name | Key Strength | Common User Benefit |
| Amasty Product Feed | Extremely flexible rule-based generation and multi-channel support. | Best for complex catalogs and exporting to multiple marketplaces (Amazon, eBay, etc.). |
| Mirasvit Advanced Product Feeds | Known for its large library of pre-built templates and dynamic attributes. | Great for speed of setup and handling massive inventories with quick customization. |
| Magefan Google Shopping Feed | Very user-friendly interface and strong Content API support. | Ideal for merchants who want a simple, clean interface focused specifically on GMC integration. |
My advice? Check out the live demos for these three. See which admin panel you feel most comfortable working in.
Step-by-Step: Creating Your Google Shopping Feed in Magento 2
This section assumes you’ve picked a solid, high-quality extension that covers the features listed above. We’ll walk through the setup process.
A. Step 1: Install and Configure the Extension
This is the technical starting point, but it’s straightforward.
- Installation via Composer (Preferred Method): If you or your developer are running your M2 store correctly, you’ll install the module using Composer. Run the required composer require vendor/module-name command, followed by php bin/magento setup:upgrade and php bin/magento cache:flush. It’s faster, more secure, and the industry standard.
- Enabling and Cache Clearing: After installation, ensure the module is enabled in the backend and clear all caches. I might be wrong, but forgetting to clear the cache is probably the second most common Magento mistake after not running indexers. Don’t skip it.
- Connecting to GMC: Navigate to the extension’s configuration section. You will need to set up the connection, usually either via SFTP/FTP Credentials for direct file upload or, preferably, via Google Content API which is a more seamless, real-time sync method.
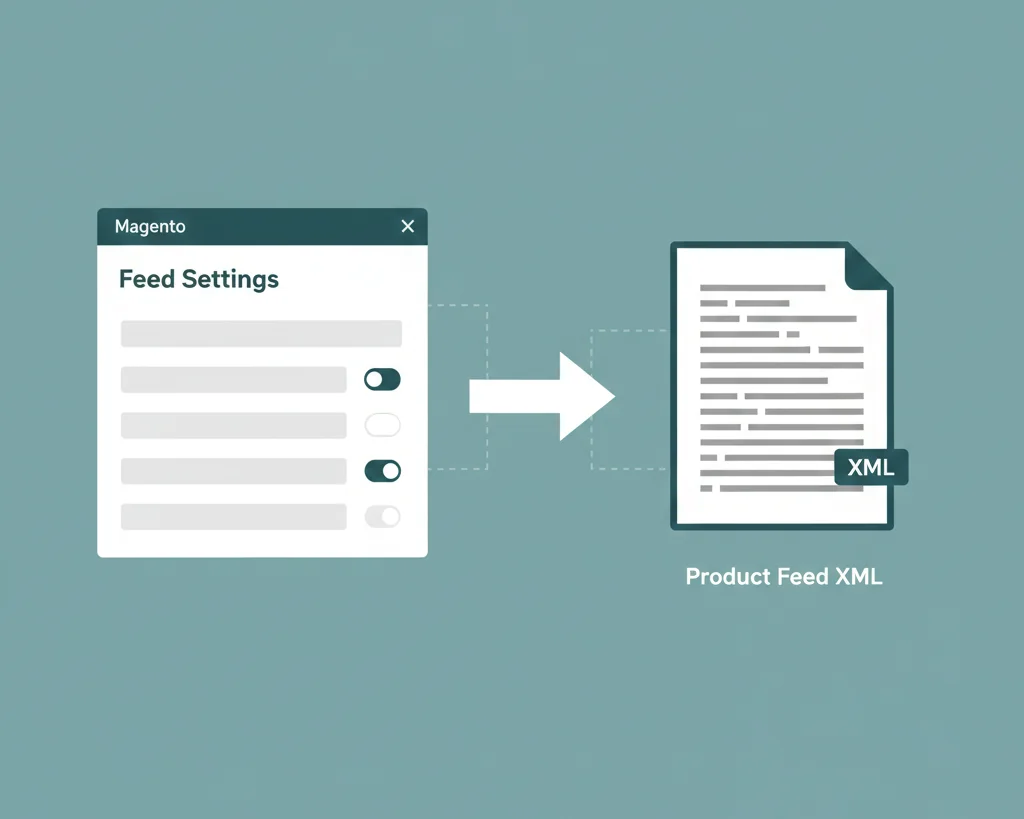
B. Step 2: Set Up General Feed Information
You’ll create a new feed profile in the extension’s admin grid.
- Feed Name, File Name: Give it a clear name like “Primary Daily US Feed”. Set the file name, for example, shopping_graph_feed.xml.
- File Format: XML is almost always recommended for Google Shopping as it’s the standard.
- Store View and Currency: Select the specific Store View you want to use (essential for multi-store setups) and the target currency (e.g., USD, EUR).
C. Step 3: Define Product Filters and Conditions (Targeting)
This is where you tell the feed what to include. You don’t want to waste Google Ads budget on products that aren’t ready.
- Excluding Products: Set rules to automatically exclude products based on status (Disabled), visibility (Not Visible Individually), or stock (Out-of-Stock).
- Filtering by Attribute: You can get granular here. If you know, for example, that any product with a profit margin under 20% isn’t profitable via paid PLAs, you can create a rule to filter by your custom profit_margin attribute. Or, simply, only products over $50 to target high-value buyers.
D. Step 4: Map Magento Attributes to Google Requirements (The Most Critical Step)
This is the make-or-break moment. Incorrect mapping leads directly to disapproval in the Merchant Center.
Required Attributes (The “Must-Haves”)
These are non-negotiable.
- id: Must be mapped to your Magento SKU. This is Google’s unique identifier for the product.
- title: Map this to your Product Name, but we’ll optimize it later.
- description: Map this to your Long Description.
- price, link, image_link, availability, condition: These must map directly and accurately to your corresponding Magento attributes. The availability attribute is crucial, it needs to accurately reflect your inventory (e.g., in stock, out of stock, pre-order).
Essential Optional Attributes (The “Highly Recommended”)
Skipping these will hurt your performance and eligibility for key programs.
- gtin, mpn, brand: These are the unique product identifiers. For products with an internationally recognized identifier (like a barcode, or GTIN), you must include it. If you sell custom or handmade products, you include your brand and mpn, and set the identifier_exists attribute to false. Don’t pretend to have a GTIN if you don’t.
- sale_price and sale_price_effective_date: If you are running sales, mapping these attributes ensures your product is eligible for the special “Sale” badge on Google Shopping, which I’ve seen boost CTRs significantly.
- shipping and tax: While you can configure these in GMC, it is generally better practice to send accurate data directly in the feed to avoid discrepancies.
E. Step 5: Map Magento Categories to Google Product Taxonomy
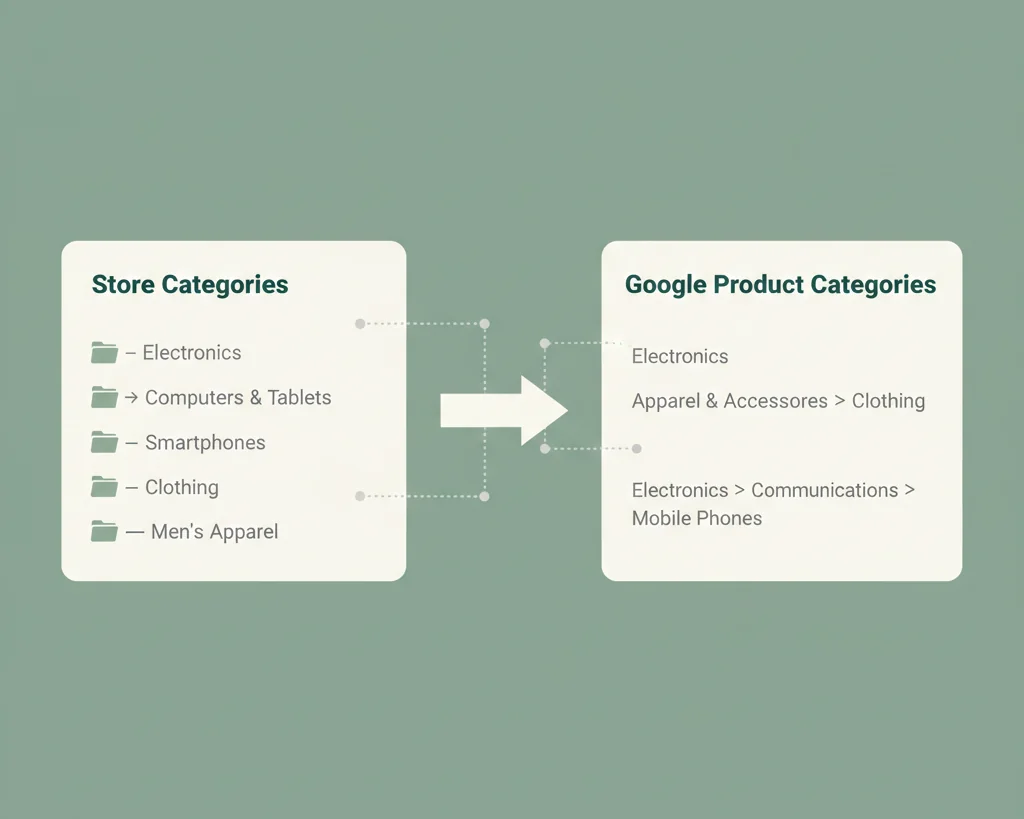
Google is strict about product classification. They don’t care what your category is, they care what their category is.
The necessity of using Google’s specific categories cannot be overstated. Google uses its Product Taxonomy to help its algorithm understand what you’re selling and match it to relevant search queries.
A good extension will let you use rule-based categorization. For instance, you can set a rule like: “If Magento Category is ‘Men’s Running Shoes,’ map it to Google Category ‘Apparel & Accessories > Shoes > Athletic Shoes’.” Use the extension’s auto-mapping features to quickly match your categories to the official, required Google path.
F. Step 6: Configure Automatic Generation and Upload
This is the automation you paid for.
- Setting the Cron Job Frequency: Go into your extension’s scheduler settings. For most e-commerce stores, Daily at 2:00 AM is a good starting point. If you have extremely high stock turnover or constantly changing prices, you may want to move to an Hourly schedule.
- Configuring SFTP/FTP Upload: If you’re not using the Content API, set up the SFTP/FTP connection details provided by your Google Merchant Center. This allows the extension to automatically generate the file and push it to Google’s server at the scheduled time.
Optimization and Troubleshooting: Getting Your Feed Approved and Performing
Generating the feed is just the first lap. Winning the race requires continuous optimization.
Best Practices for Feed Optimization (Making it Better)
Title Optimization: Injecting High-Intent Keywords
The product title is the single most important factor for ranking and attracting the click. Don’t use your standard, short product name. Use a formula:
Brand + Product Type + Key Feature/Size/Color
For example, instead of just “Trail Runner,” use: “Nike Pegasus Trail 4 GORE-TEX Men’s Running Shoe Black/Blue Size 10”. This is how people actually search.
High-Quality Imagery
Google is a visual shopping experience.
- Resolution: Google recommends a minimum of 100×100 pixels for non-apparel and 250×250 for apparel. I recommend aiming for images at least 800×800 for better quality on high-resolution displays.
- Policy: Ensure your images have a plain white or light background and display the entire product (75-90% of the image frame).
Leveraging Custom Labels
This is where I’d probably mess this up if I rushed, but it’s worth the time. Custom Labels (custom_label_0 to custom_label_4) are your secret weapon for campaign segmentation.
Use them to group products by things Google doesn’t know about:
- custom_label_0: Profit Margin (e.g., High Margin, Medium Margin)
- custom_label_1: Inventory Level (e.g., High Stock, Low Stock)
- custom_label_2: Seasonality (e.g., Summer Sale, Holiday Gift)
You can then use these labels in Google Ads to set higher bids on your High Margin or Low Stock items.
Common Feed Rejection Errors and Solutions
If your feed is rejected, don’t panic. It’s an irritating rite of passage.
| Error Message | Cause | Quick Solution |
| Missing Required Attribute | You haven’t mapped an essential field like link or availability. | Check your extension’s attribute mapping interface for the missing field. |
| Invalid GTIN/MPN | You’ve submitted an identifier that Google can’t verify, or you’re missing one for a non-custom item. | Check your product data, or if it’s a custom product, set identifier_exists to false in the feed mapping. |
| Pricing/Availability Mismatch | The price in your feed is different from the price on your product page. | Most common issue. Adjust your feed generation frequency (e.g., from Daily to Hourly) to ensure the feed is always fresher than your price changes. |
| Inaccurate Shipping/Tax | The data in your feed doesn’t match your GMC account settings. | Either ensure your feed sends the correct rates, or simplify things by configuring shipping and tax directly in Google Merchant Center settings. |
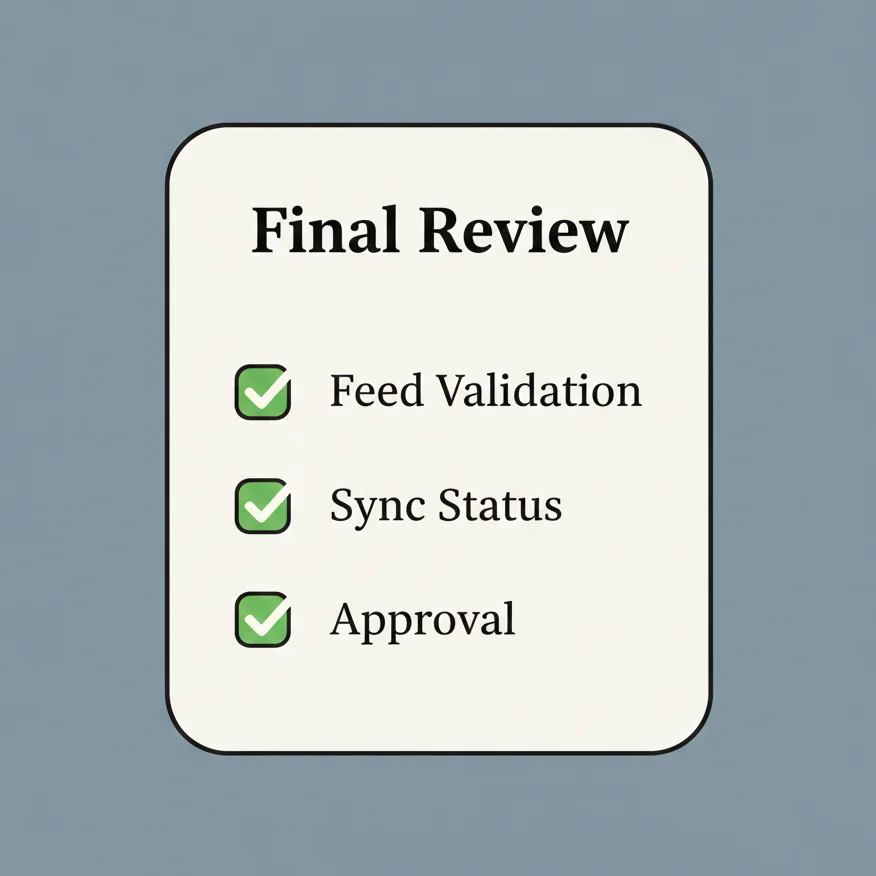
GMC Diagnostics: Your Best Friend for Monitoring
The Diagnostics tab in Google Merchant Center is your central monitoring tool. Check it daily, especially in the first week. It will show you exactly which products were disapproved and why, giving you the specific errors you need to fix in your Magento 2 extension. Trust the diagnostics, they don’t lie.
Finalizing Your Google Shopping Integration
You’ve got a clean feed, it’s updating automatically, and the diagnostics are green. What’s next?
A. Linking GMC to Google Ads (The Final Step)
You can’t run an ad campaign without this.
- Log in to your Google Merchant Center account.
- Go to the Settings menu.
- Select Linked Accounts, then Google Ads.
- Enter your Google Ads Customer ID and click to send a link request.
- Accept the request within your Google Ads account interface.
The link is complete. Your product feed data is now available to use when creating your first Shopping campaign in Google Ads.
B. Managing Ongoing Maintenance and Monitoring
Don’t treat this like a set-it-and-forget-it project. The maintenance is what separates the winners from the also-rans.
- Run Google Ads Search Term Reports: This is the ongoing gold mine. See what exact search queries triggered your ads. Add irrelevant terms as negative keywords in Google Ads to stop wasting budget, and use high-converting phrases to further optimize your product titles in Magento 2.
- Monitor GMC Diagnostics: Again, check this daily. Even a small change in Magento 2 or a new Google policy can trigger an issue.
Frequently Asked Questions (FAQs)
Q: Can I create a Google Shopping Feed in native Magento 2 without an extension?
A: You can, technically, but I strongly advise against it. You’d have to write custom code or create a manual export CSV file. Neither of these methods is scalable, automated, or resilient enough to handle price changes, stock updates, or the complex attribute mapping required for high-volume e-commerce. You need the automation and filtering rules of a dedicated extension.
Q: What is the ideal update frequency for my product feed?
A: The minimum standard is Daily. However, if you have high stock turnover, flash sales, or price changes, the ideal frequency is Hourly. The goal is to minimize the time between an event in Magento (like a product selling out) and that change being reflected in Google Merchant Center to avoid customer disappointment and policy violations.
Q: What is the item_group_id and why is it important for configurable products?
A: The item_group_id is essential for Configurable Products (like a t-shirt that comes in multiple sizes and colors). Google requires you to submit the simple products (the size/color variants) but needs to know they all belong to the same parent product. You map the simple product’s unique attributes (like size) while using the Configurable Product’s SKU as the item_group_id for all variants. This groups your ad listings correctly in Google Shopping.
Q: My feed was rejected. Where do I check for errors?
A: Always go straight to the Diagnostics tab within your Google Merchant Center account. It’s the single source of truth. It breaks down errors by product and tells you exactly which attribute is missing or non-compliant, allowing you to go back to your Magento 2 extension’s mapping and fix the specific issue.
Conclusion: From Zero to Profitable PLAs
If you take one thing away from this, let it be this: Google Shopping is an optimization game based on automation.
Your Magento 2 store is the engine, and the third-party extension is the precision gearbox that links that engine to the Google Merchant Center. Attempting to manage this relationship manually is a fool’s errand. Invest in a quality extension, master the attribute mapping, and religiously check your GMC Diagnostics.
By doing this, you’re not just creating a feed, you’re setting up a robust, scalable system designed to capture high-intent buyers and turn your Magento 2 products into profitable Product Listing Ads.
